Language
  EN
EN RU
RU ES
ES DE
DE EL
EL IT
IT JA
JA KO
KO PT
PT ID
ID SR
SR UK
UK VI
VI TH
TH TR
TR MS
MS BE
BE AR
ARBEACON Common Rail Test System Flow Sensor and Pressure Calibration Guide
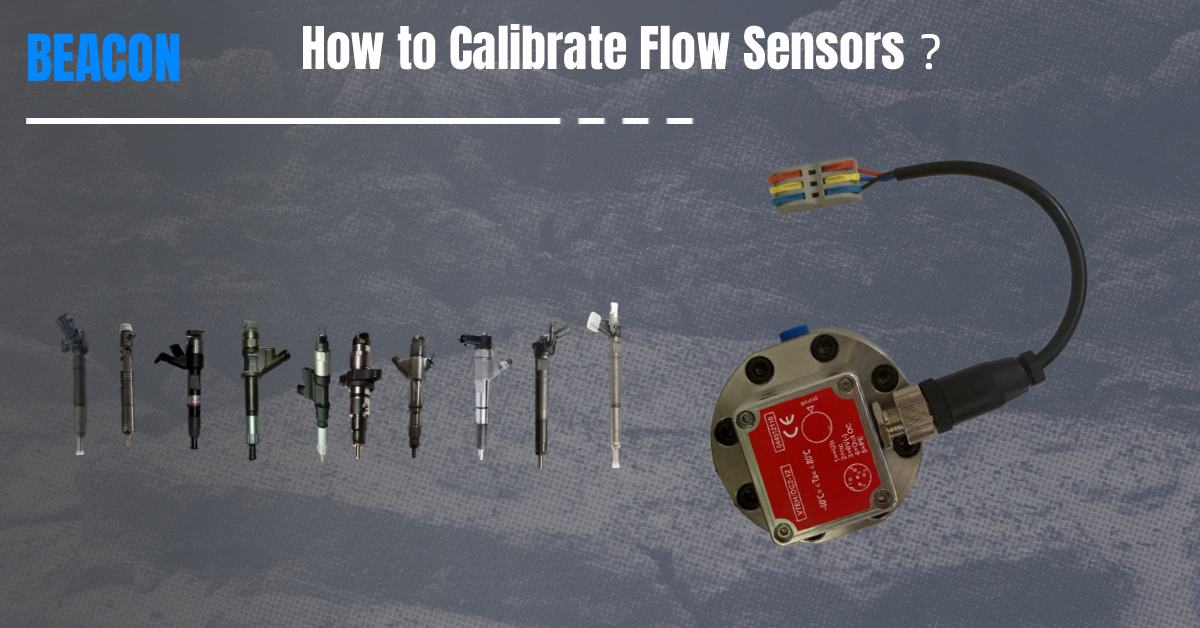
Ultimate Guide: How to Calibrate Flow Sensors and Rail Pressure on a BEACON Common Rail Test Bench
Accurate calibration is the heartbeat of any diesel fuel injection test bench. If your BEACON Common Rail Test Bench is displaying flow rates or rail pressures that don't match reality, your injector testing results will be fundamentally flawed.
This comprehensive guide will walk you through the exact steps, underlying logic, and professional tips for calibrating both the flow sensor and the rail pressure on a BEACON electronic fuel system test bench.
Part 1: How to Calibrate the Flow Sensor
Before you begin, you must understand one crucial prerequisite: You must prepare a brand new BOSCH injector. Why? Because the physical injection volume of a brand-new BOSCH injector is the absolute industry standard. We will use this accurate physical flow to correct the computer's displayed values.
Accessing the Calibration Menu
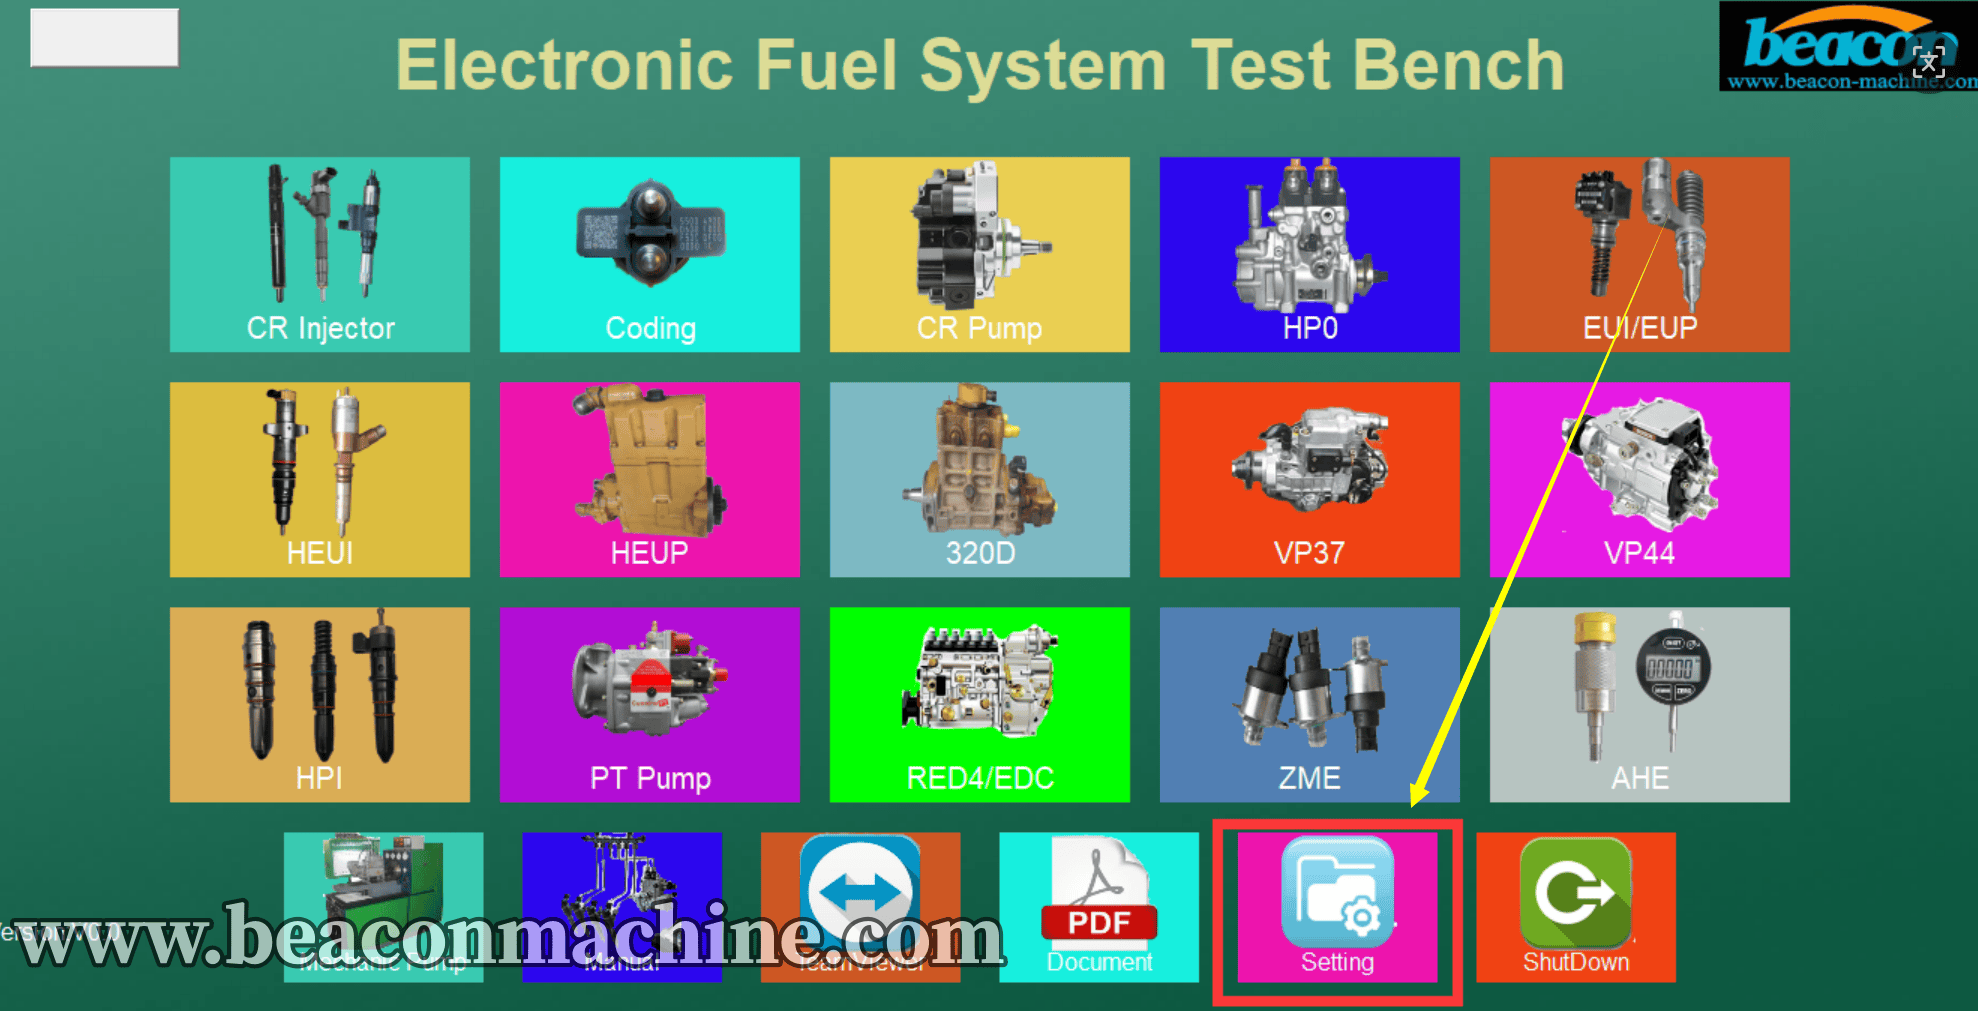
Go to the main interface of your BEACON software.
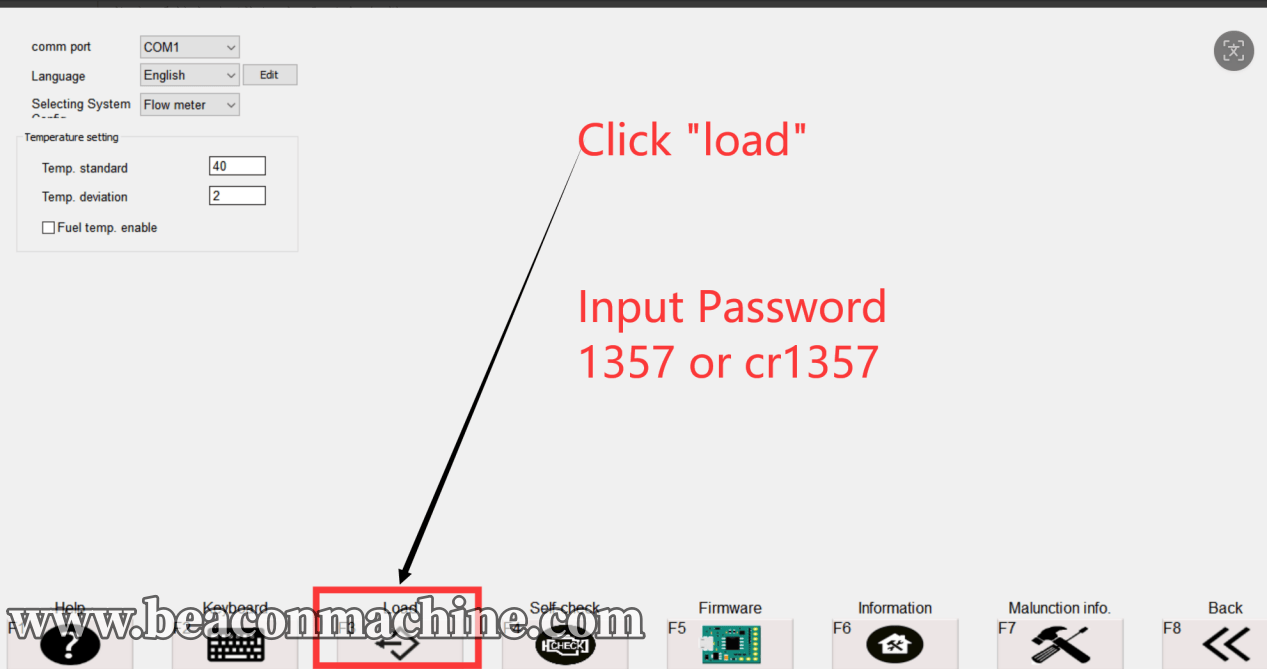
Click System > Setting > Load.
Input the password: 1357 or cr1357.
Select Flow sensor calibration.
 The Core
Adjustment Rule (Inverse Proportion)
The BEACON software uses a pulse flow meter. The default coefficient value (usually around 36000) represents the pulse equivalent. The formula is:
Flow rate displayed = Total signals collected ÷ Flow coefficient.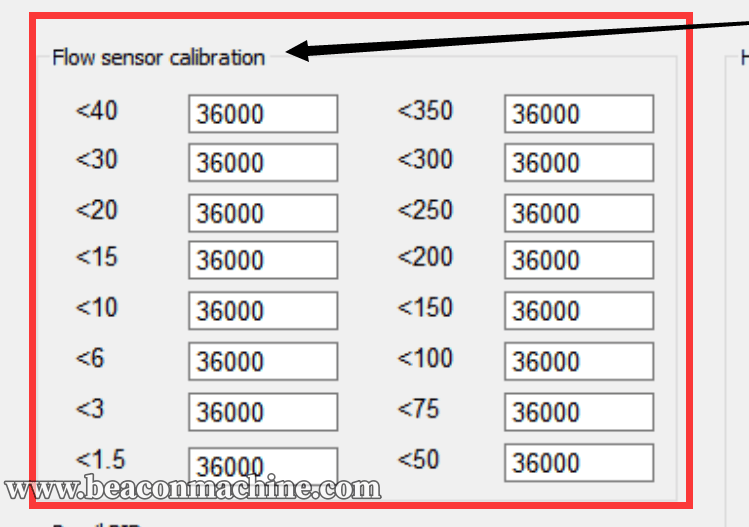
Therefore, the relationship is inversely proportional.
If the computer displays a flow rate that is TOO HIGH 👉 INCREASE the coefficient (A larger denominator yields a smaller result).
If the computer displays a flow rate that is TOO LOW 👉 DECREASE the coefficient (A smaller denominator yields a larger result).
Step-by-Step Practical Example: Full Load (VL) Calibration
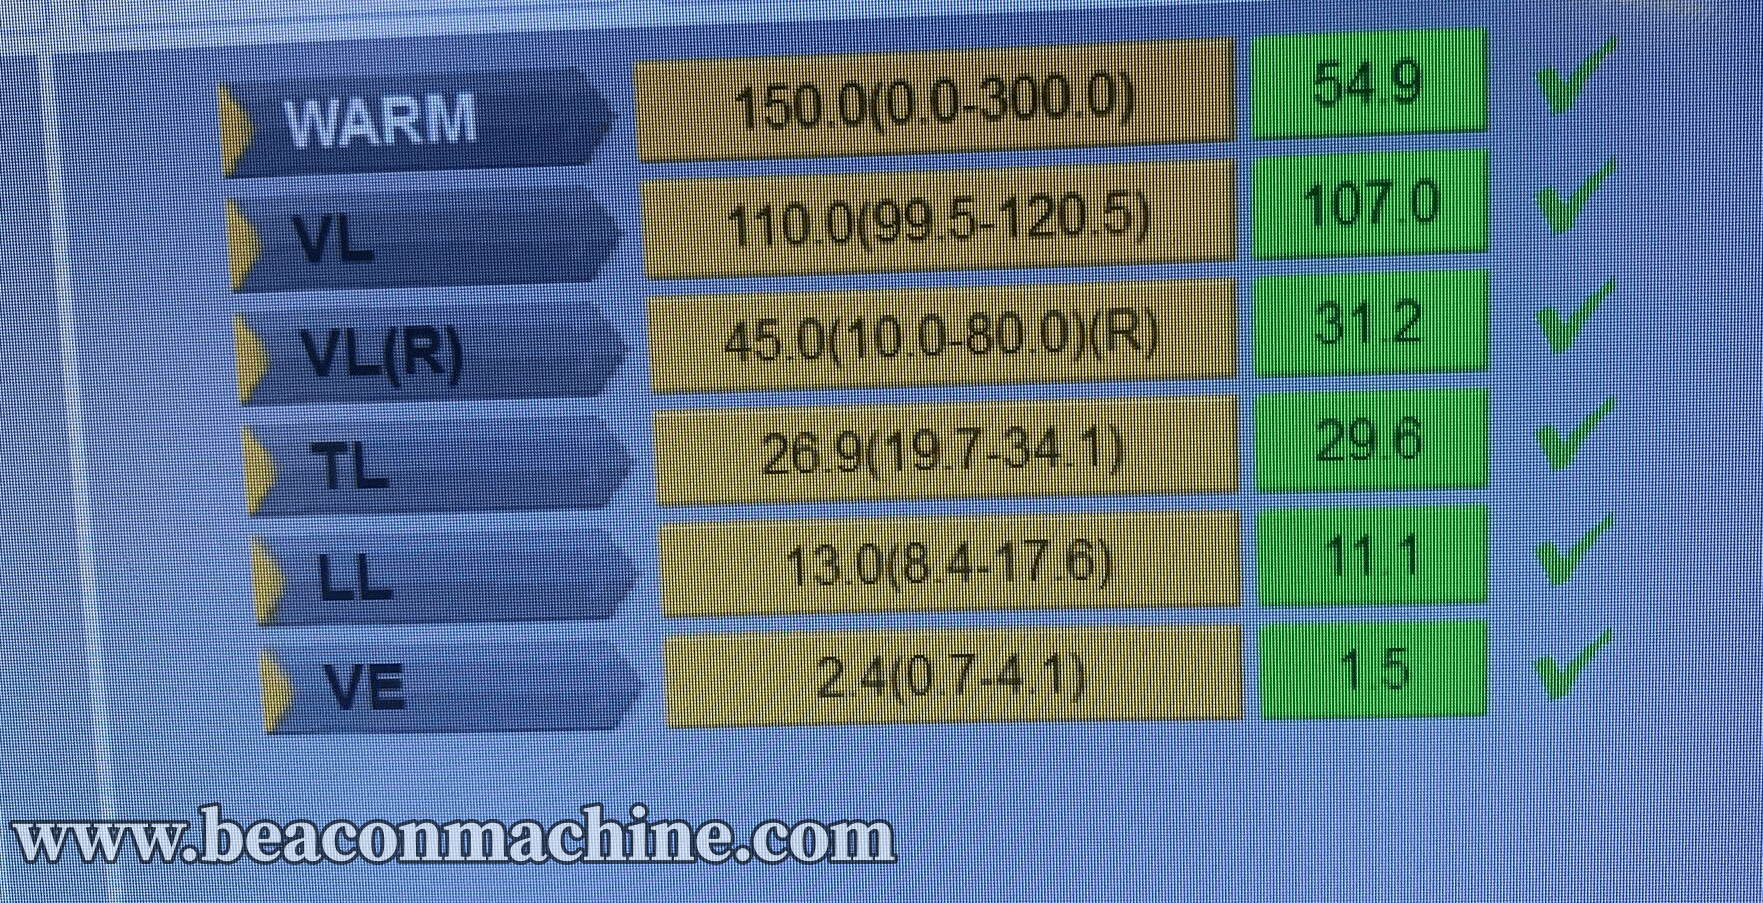
Let's assume you are testing the VL (Full Load) condition.
Standard data range: 99.5 - 120.5 (Median is ~110).
Your screen displays: 135.0 (The displayed flow is too high).
Step 1: Locate the target range.
Since your current reading is 135, look at the calibration interface and find the <150 row.
Step 2: Modify the coefficient.
Since the displayed traffic is too high, you must increase the default coefficient of 36000. Change it to 37500.
Step 3: Retest and Observe.
Save the settings and run the VL test again:
Perfect result: Flow drops to 115.0 (within standard range).
Under-adjusted: Flow drops to 125.0. Action: Increase coefficient further to 38500.
Over-adjusted: Flow drops to 90.0. Action: Reduce coefficient slightly to 36800.
Fine-Tuning Suggestions (Segmented Calibration)
Because injector flow varies across conditions, you must calibrate specific segments:
Idle (LL) too high: Typically around 10. Adjust the coefficient in the <15 or <10 line.
Return Flow (VL-R / TL-R) inaccurate: Typically around 40-70. Adjust the coefficient in the <75 or <100 line.
Part 2: How to Calibrate Rail Pressure
High-pressure common rail systems operate under extreme conditions (often thousands of kilograms of pressure). Calibrating the rail pressure ensures the pump pressurizes the system exactly as commanded.
Preparation and Access
Attach a mechanical pressure gauge to the rail tube. This mechanical reading is Pressure A (Actual Pressure).
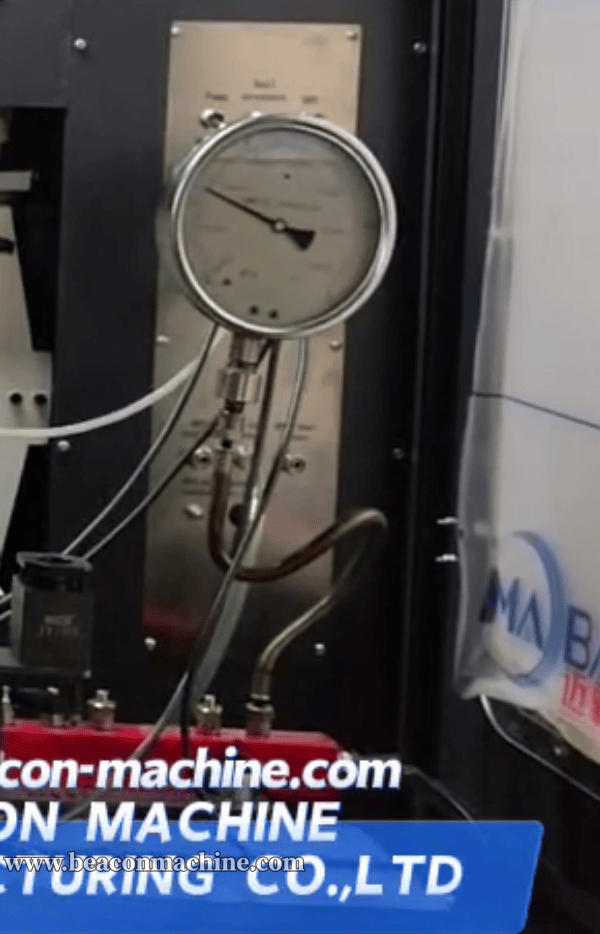
The pressure displayed on the computer screen is Pressure B (Target/Computer Pressure).
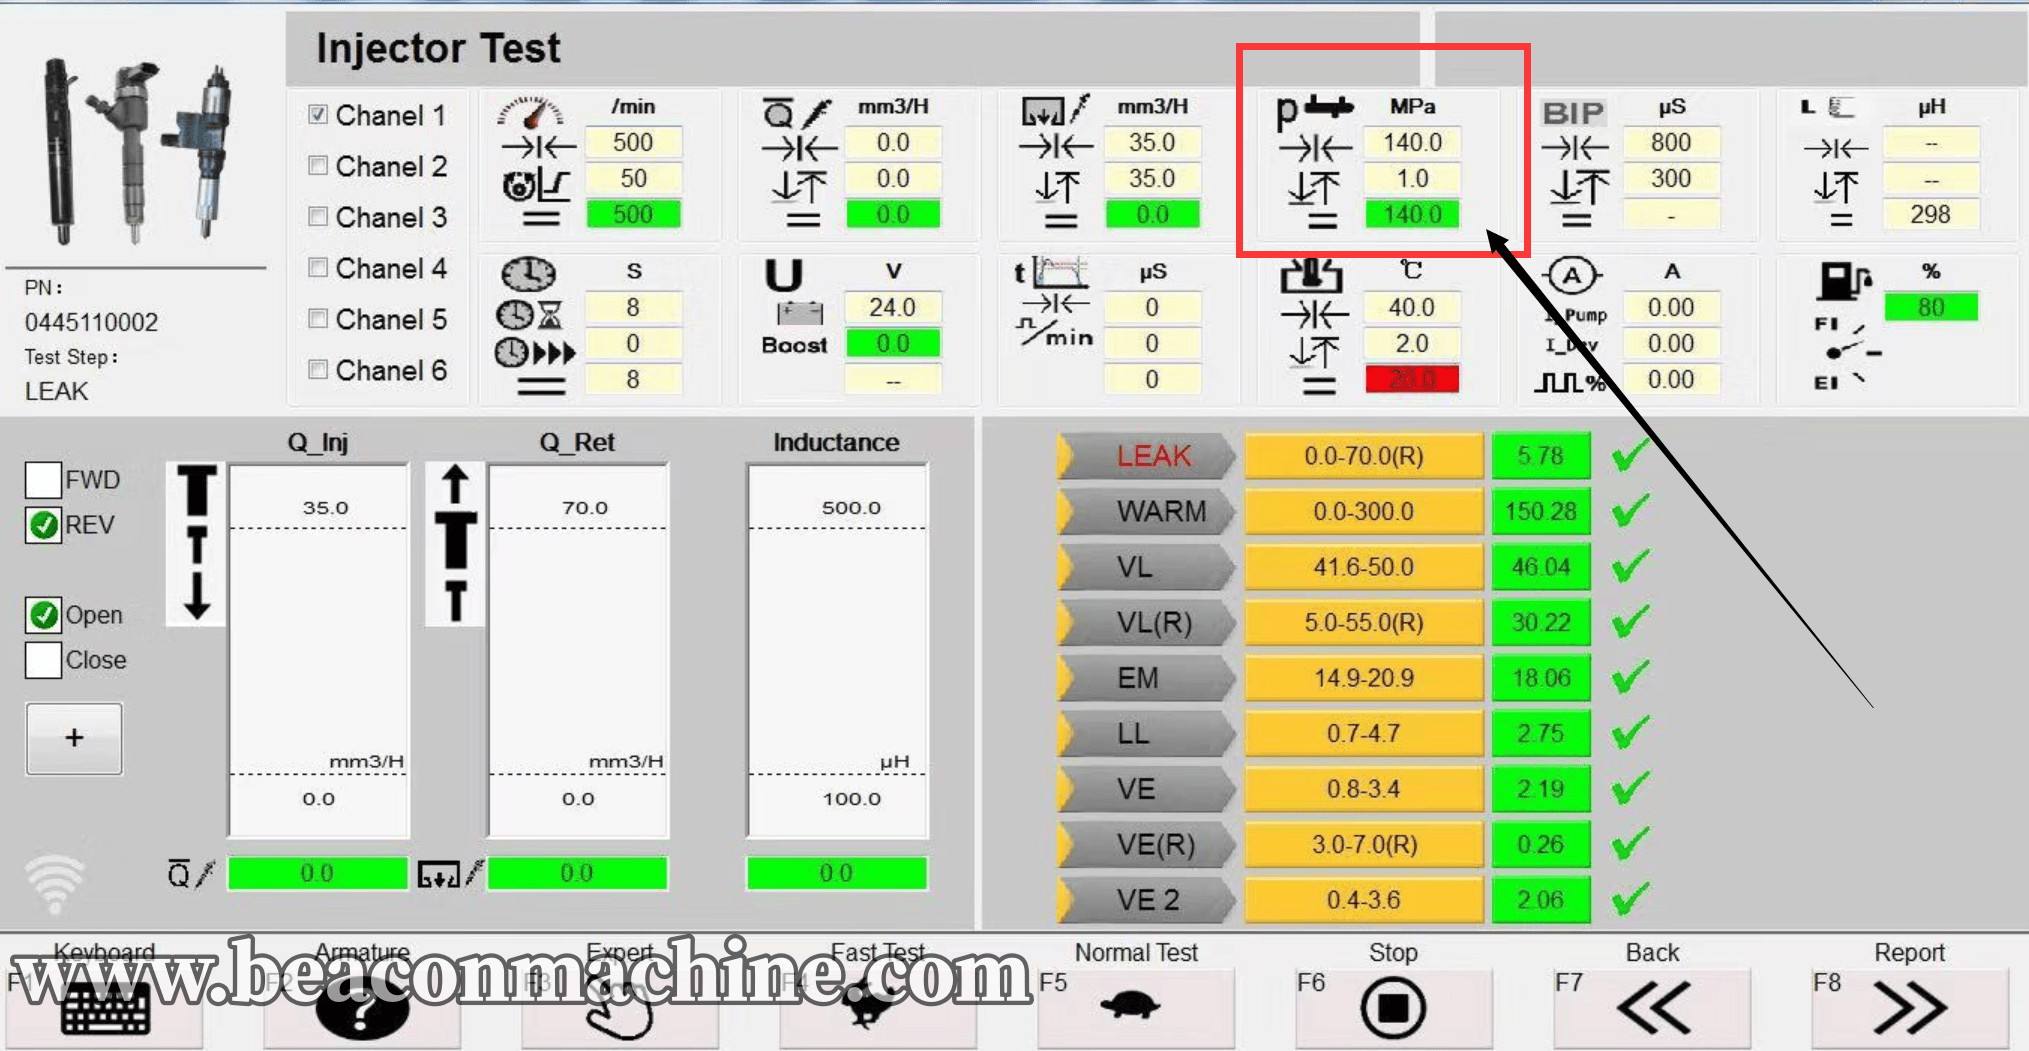
3. Access the menu: Click System > Setting > Load (Password: 1357 or cr1357) > CR pressure calibration.
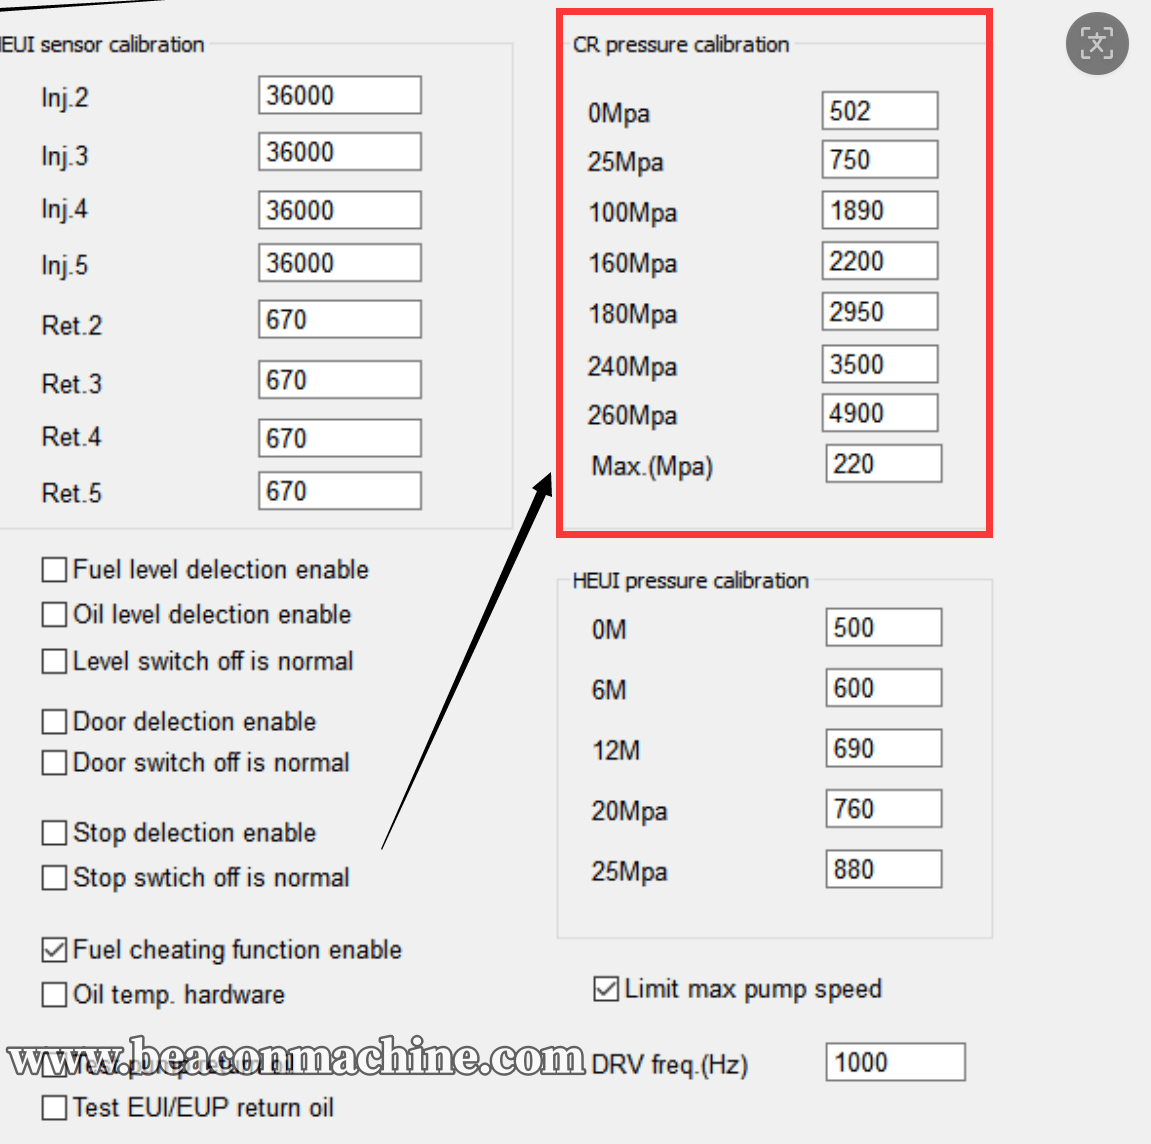
The Core Adjustment Rule (Positive Correlation)
The values in the pressure calibration table (e.g., 502, 750, 1890) represent electrical signals (mV). The higher the pressure, the larger the signal value. Therefore, the relationship is a positive correlation.
If Actual Gauge (A) > Computer (B) 👉 REDUCE the coefficient.
If Actual Gauge (A) < Computer (B) 👉 INCREASE the coefficient.
Practical Calibration Scenarios
Scenario 1: Actual Pressure is Too High
Target: Computer wants 100 MPa.
Reality: Mechanical gauge reads 120 MPa when the system stops pressurizing.
Reason: The system reached the set signal limit (e.g., 1890) too late. Your set value is too high for 100 MPa.
Action:Reduce the coefficient at 100 MPa from 1890 to 1750 or 1800. The machine will now stop pressurizing earlier, bringing Pressure A down to match Pressure B.
Scenario 2: Actual Pressure is Too Low
Target: Computer wants 100 MPa.
Reality: Mechanical gauge reads only 80 MPa when the system stops.
Reason: The system hit the signal limit (1890) prematurely. Your set coefficient is too low.
Action:Increase the coefficient at 100 MPa from 1890 to 2000. The system will continue pumping until it reaches the true 100 MPa mark.
Image Concept: Screenshot of the "CR pressure calibration" table. Highlight the "100Mpa" row and the corresponding value "1890". Put a caution symbol next to it with text "Make small adjustments (50-100 increments)".
Alt text: BEACON CR pressure calibration parameter setting table.
⚠️ Pro-Tips for Pressure Calibration
Never Make Large Leaps: Because of the extreme pressures involved, adjust values in small increments of 50 to 100 at a time. Save, observe the mechanical gauge, and readjust.
Targeted Adjustments:
For idling/low-pressure inaccuracies: Adjust parameters at the 25 MPa or 100 MPa lines.
For full-load/high-pressure inaccuracies: Adjust parameters at the 160 MPa, 180 MPa, or max pressure lines.
6. Application Scenarios
This calibration guide is essential for the following scenarios:
Initial Test Bench Setup: When a brand-new BEACON test bench is first installed in a diesel repair workshop and needs baseline calibration to adapt to local electrical and environmental conditions.
Routine Maintenance: After 3 to 6 months of continuous high-volume injector testing, sensors naturally drift. Periodic calibration guarantees that the workshop's test reports remain authoritative and trustworthy for clients.
Post-Repair Calibration: If the test bench’s flow meter, pressure sensor, or high-pressure pump has been replaced or serviced, a complete system recalibration is mandatory before resuming customer injector repairs.
Troubleshooting Discrepancies: When experienced mechanics notice that an injector performs perfectly in a vehicle but fails on the test bench (or vice versa), indicating that the test bench itself is out of calibration.
7. FAQ
Q1: Why must I use a brand new BOSCH injector for flow calibration?
A: A brand new BOSCH injector provides a standardized, factory-accurate fuel injection volume. If you use an old or repaired injector, its physical flow rate might already be compromised, which will lead you to calibrate your test bench to incorrect, non-standard parameters.
Q2: What is the default password to access the BEACON system settings?
A: The default passwords for the system loading and setting interface are usually 1357 or cr1357.
Q3: I adjusted the flow sensor coefficient, but the flow rate barely changed. What should I do?
A: Ensure you are adjusting the correct flow rate range segment. For example, if you are testing Idle (LL) which flows around 10 mm³/H, changing the coefficient in the <150 row will have no effect. You must adjust the coefficient in the <15 or <10 row.
Q4: Is it safe to change the rail pressure coefficient by 500 at once?
A:No. Common rail systems operate at dangerous, extremely high pressures. Making large leaps (like 500) can cause the pump to over-pressurize rapidly, potentially damaging the test bench components or blowing safety valves. Always adjust in small increments of 50 to 100, save, and observe the mechanical gauge.
Q5: The computer shows 160 MPa, but my mechanical gauge shows 175 MPa. Should I increase or decrease the coefficient?
A: Since the Actual Pressure (Gauge) is higher than the Computer Pressure, you need to reduce the coefficient in the 160 MPa row. This tells the system to stop pressurizing earlier, bringing the actual pressure down to match the computer target.
Related products
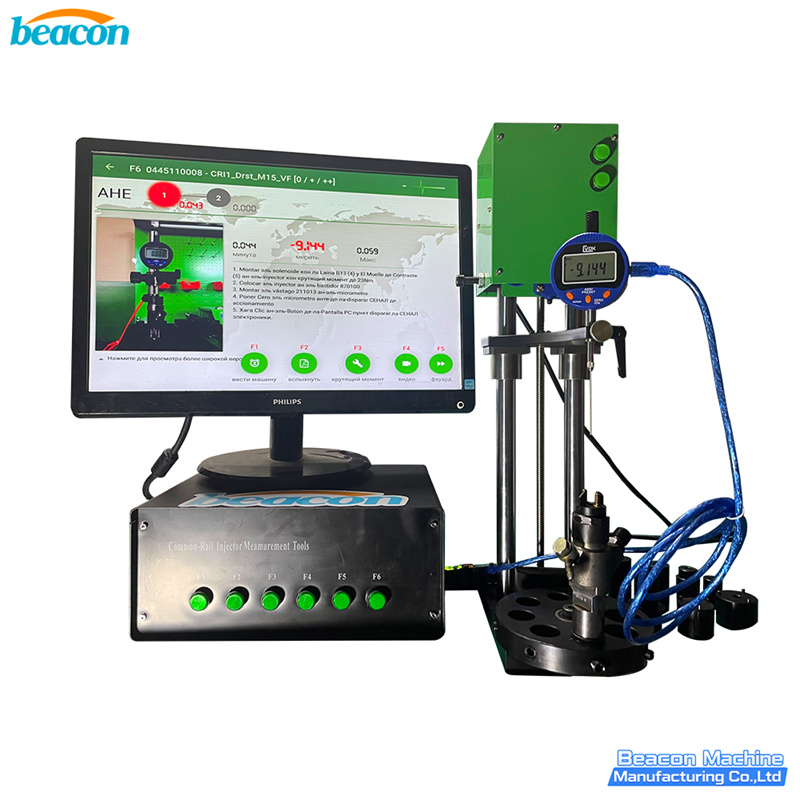
CRM950 Common Rail Injector Stage 3 Tester
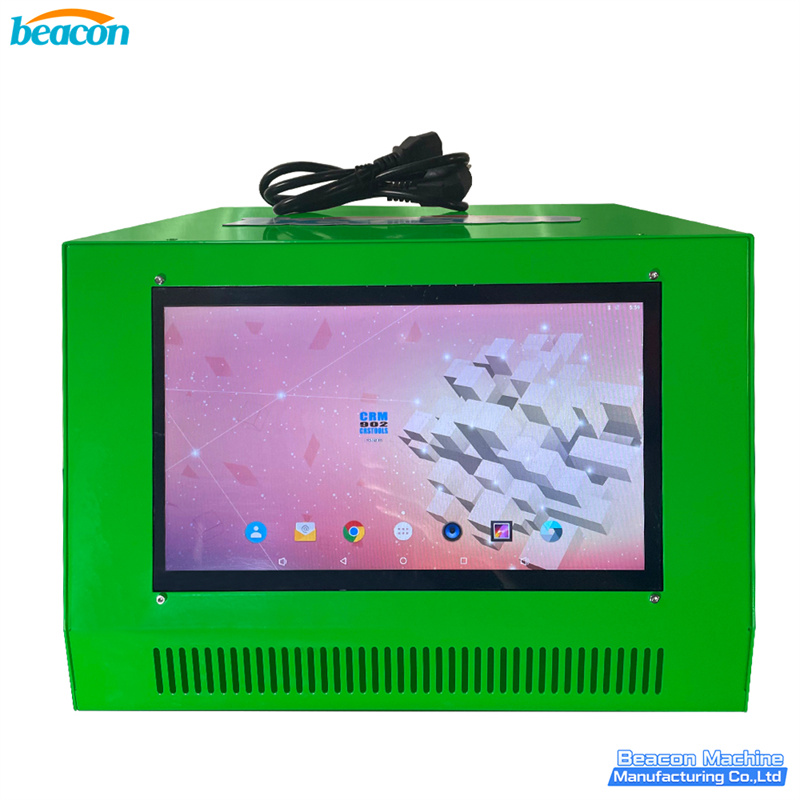
CRM902 Common Rail Injector Stage 3 Repair Kit
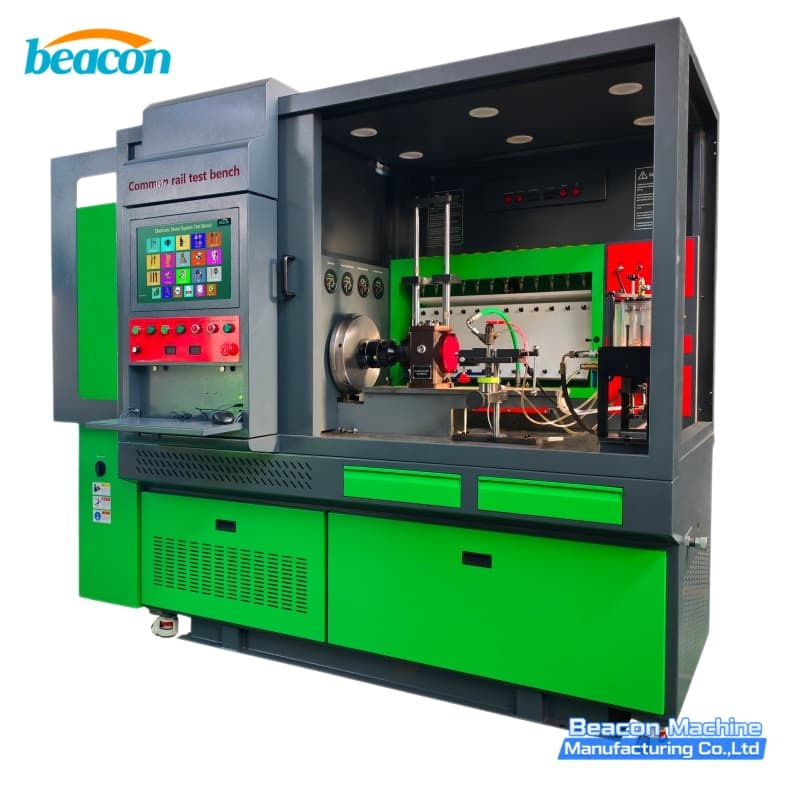
CR919 PLUS Multifunctional Common Rail Test Bench
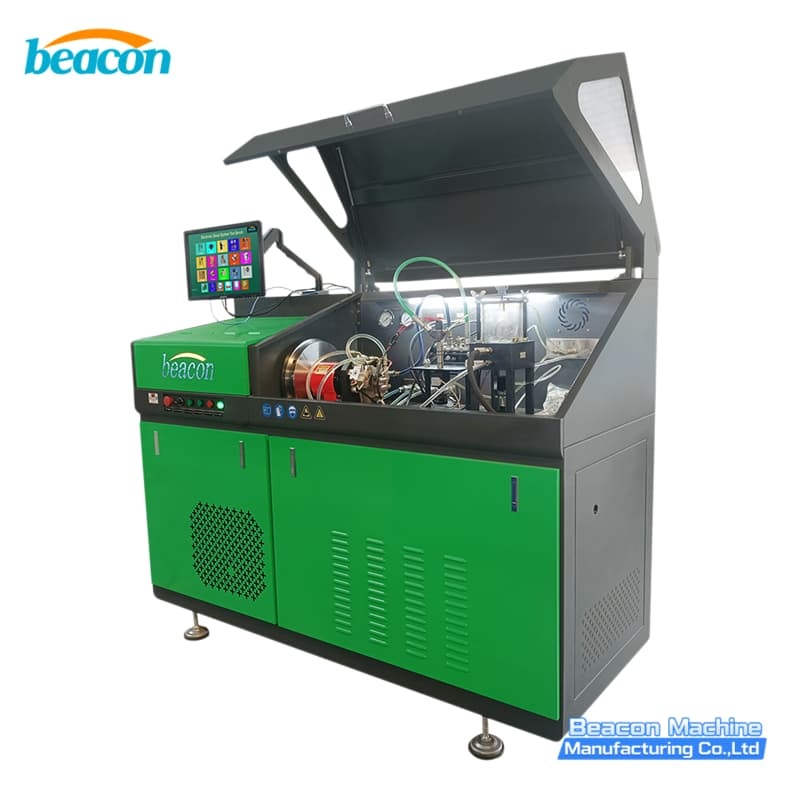
CR707 Common Rail Injector and Pump Test Bench
12PSD Diesel Fuel Injection Pump Test Bench
G4-105 F2P Smart Diesel Injector Disassembly Measurement and Repair Tool Kit
contact us
TEL: +86-13375386258
Whatsapp:+86-13375386258
Email: jasonzheng@beacon-machine.com
Address: High Tech Industry Zone of East Tai an city,Shandong Province,China