Language
  EN
EN RU
RU ES
ES DE
DE EL
EL IT
IT JA
JA KO
KO PT
PT ID
ID SR
SR UK
UK VI
VI TH
TH TR
TR MS
MS BE
BE AR
ARDenso 6pin Smart Injector Tester i-ART Injector Diagnostic Tool
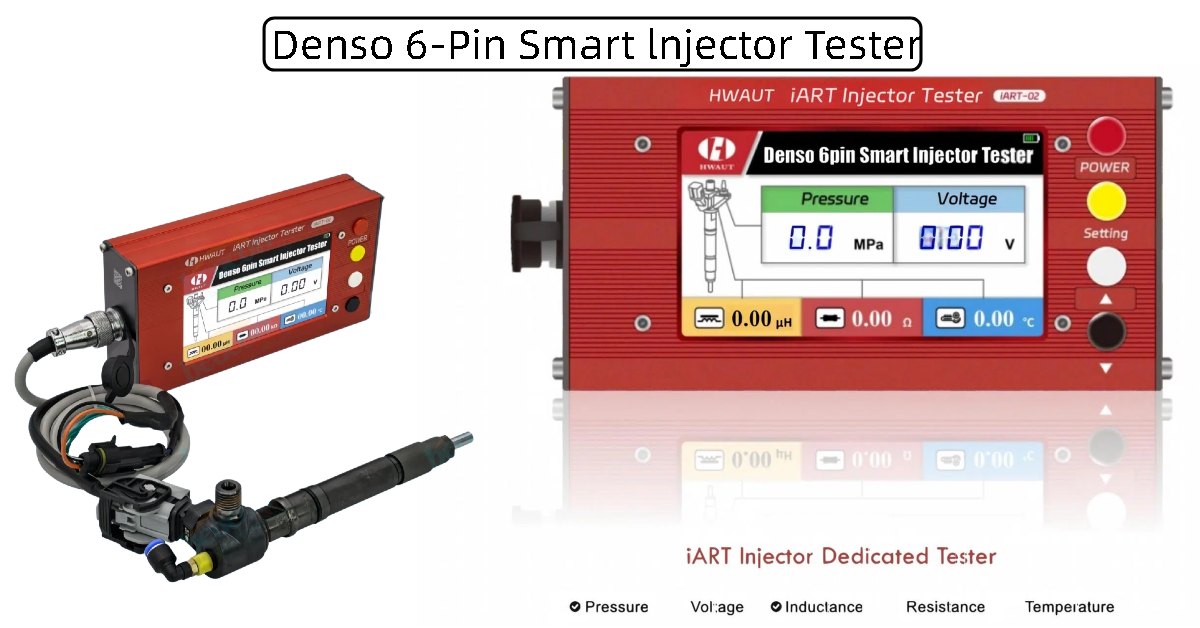
Comprehensive Guide to the Denso 6pin Smart Injector Tester (iART-02)
The iART-02 is a high-precision, multi-functional testing tool specifically designed for DENSO i-ART series fuel injectors. By integrating fast and accurate measurement functions, it effectively assists automotive technicians and diesel specialists in diagnosing fuel injectors and evaluating their performance.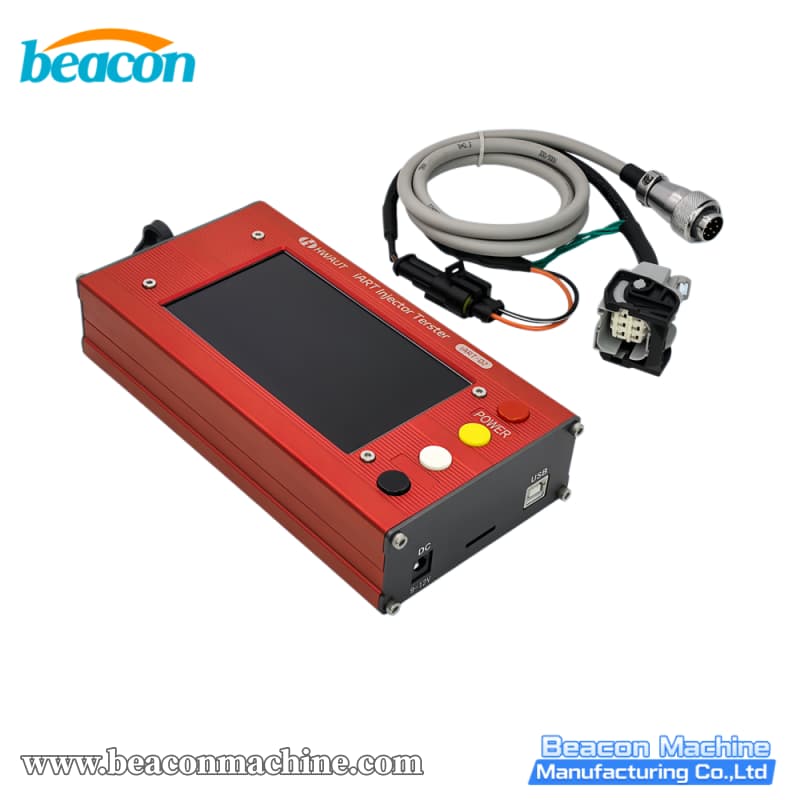
Main Functional Features
Multi-parameter Measurement: Quickly measures the pressure value of the fuel injector under working conditions, as well as the resistance, inductance, and internal temperature under static conditions.
High-precision Design: An internal high-precision bridge is adopted to ensure the accurate measurement of parameters such as fuel injector impedance and inductive reactance.
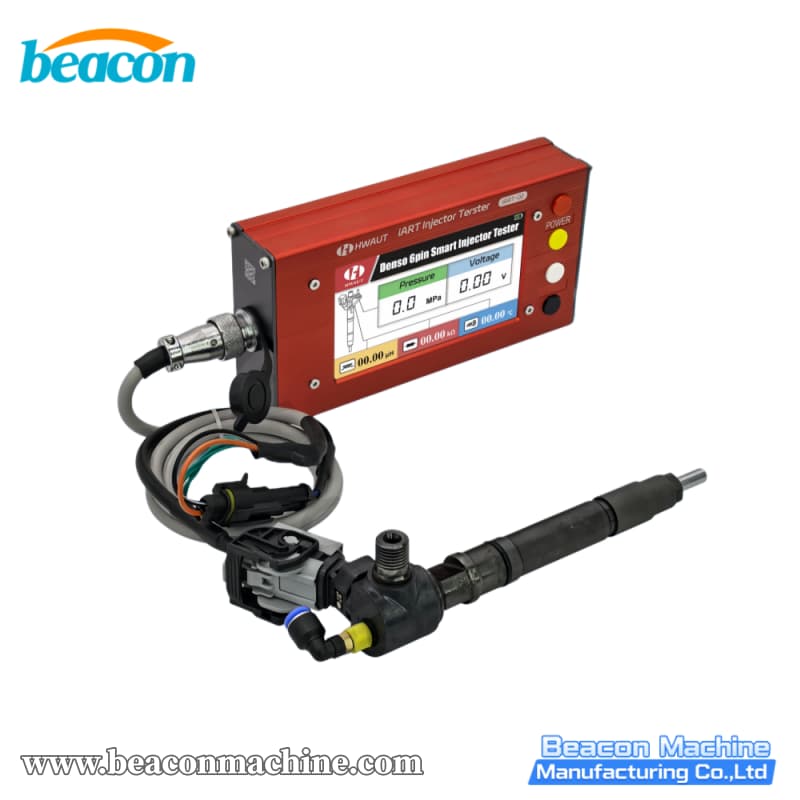
Intuitive Display: Equipped with a 5-inch high-resolution LCD color screen, featuring a clear interface and intuitive data display for pressure (MPa), voltage (V), inductance (μH), resistance (kΩ/Ω), and temperature (°C).
Sturdiness and Durability: Housed in a high-quality aluminum alloy shell, ensuring a solid structure and an exquisite appearance suitable for tough workshop environments.

Technical Specifications
| No. | Item | Specifications |
| 1 | Voltage | 9-12V |
| 2 | Inductance | 1uH ~ 20mH |
| 3 | Resistance | 0 ~ 1MΩ |
| 4 | Battery | 3.7V 2000MAH lithium battery |
| 5 | Screen | 5-inch LCD |
| 6 | External Power Supply | 9-12V |
| 7 | Product Size | 230 * 97 * 40mm |
Key Operation Instructions
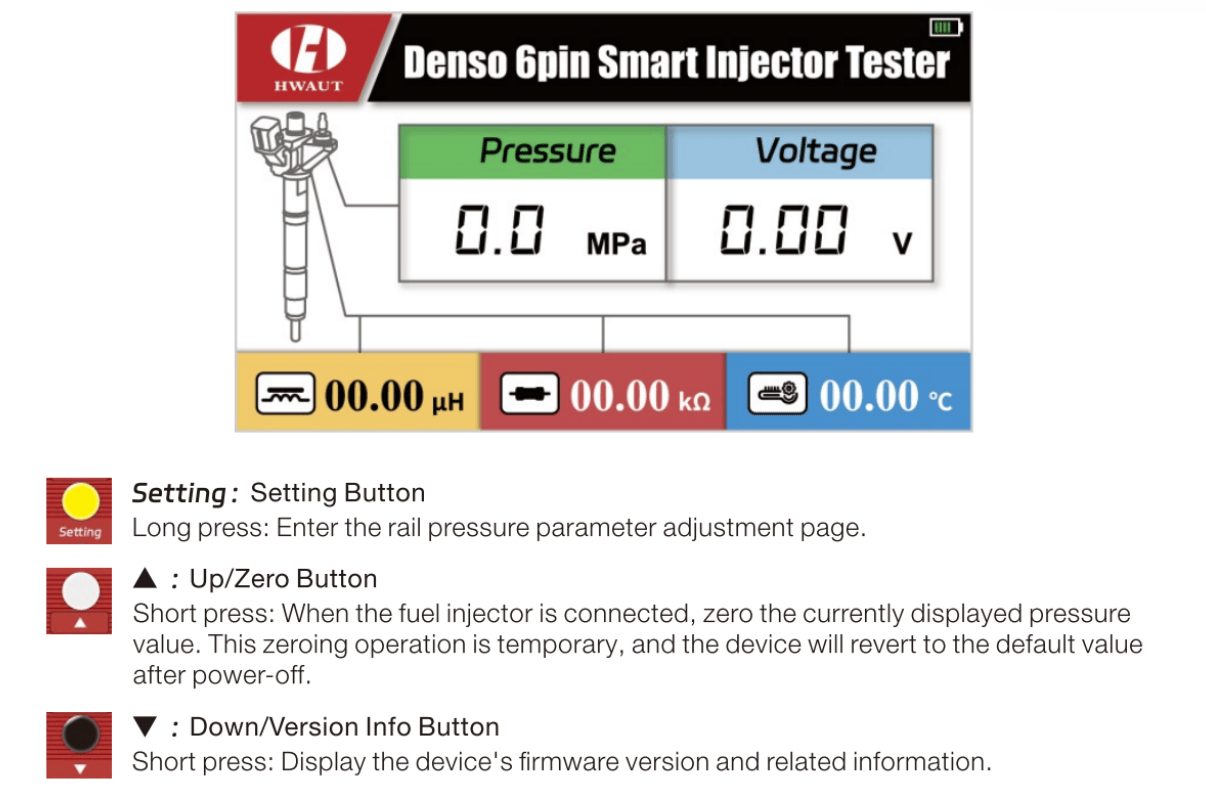
The device features an intuitive button layout. Operations are divided into two modes: "Main Interface" and "Parameter Adjustment Interface".
1. POWER Button (Red):
Press briefly or long-press to turn the device on or off.
2. Setting Button (Yellow):
Main Interface: Long press to enter the rail pressure parameter adjustment (Calibration) page.
Adjustment Interface: Long press to exit back to the main interface. Short press to switch between currently adjustable items.
3. Up/Zero Button (White ▲):
Main Interface: Short press when the injector is connected to zero the currently displayed pressure value. (Note: This zeroing operation is temporary and reverts to default after power-off).
Adjustment Interface: Short press to increase the value of the selected item.
4. Down/Version Info Button (White ▼):
Main Interface: Short press to display the device's firmware version and related information.
Adjustment Interface: Short press to decrease the value of the selected item.
(Note: The device also features a Pressure Calibration matrix mapping Voltage (mV) to Pressure (MPa) for precise tuning).
6. Application Scenarios & FAQs
Application Scenarios
Diesel Fuel Injection Workshops: Used by technicians to diagnose faulty Denso i-ART 6-pin injectors without needing complex, bulky test benches.
Injector Remanufacturing & Repair: A vital tool for verifying the internal resistance, inductance, and pressure parameters of refurbished i-ART injectors before reinstalling them into a vehicle.
On-site Vehicle Diagnostics: Thanks to the built-in 2000MAH lithium battery, mobile mechanics can carry this compact tool directly to the vehicle for quick static and dynamic tests.
Frequently Asked Questions (FAQ)
Q1: What specific parameters can the HWAUT iART-02 measure?
A: It measures dynamic working pressure (MPa) and voltage (V), as well as static inductance (μH), resistance (Ω/kΩ), and internal temperature (°C).
Q2: Does this tester require an external power supply to operate?
A: Not necessarily. While it supports a 9-12V external power supply, it comes with a built-in 3.7V 2000MAH lithium battery, making it highly portable and ready for wireless use.
Q3: How do I zero out the pressure reading before a test?
A: On the main interface, simply short-press the "Up/Zero" (▲) button when the fuel injector is connected. Please note that this is a temporary zeroing, and the device will revert to its default value after being powered off.
Q4: How do I access the Pressure Calibration settings?
A: From the main interface, long-press the yellow "Setting" button. This will take you to the calibration screen where you can adjust the Voltage (mV) to Pressure (MPa) mapping (e.g., 943mV = 0.0 MPa, 2680mV = 160.0 MPa) using the Up and Down buttons. Long-press the "Setting" button again to exit.

contact us
TEL: +86-13375386258
Whatsapp:+86-13375386258
Email: jasonzheng@beacon-machine.com
Address: High Tech Industry Zone of East Tai an city,Shandong Province,China