Language
 How to Use the G8-9 Tool Set to Repair Volvo EUI Injectors (2-Pin & 4-Pin)
How to Use the G8-9 Tool Set to Repair Volvo EUI Injectors (2-Pin & 4-Pin)
Introduction
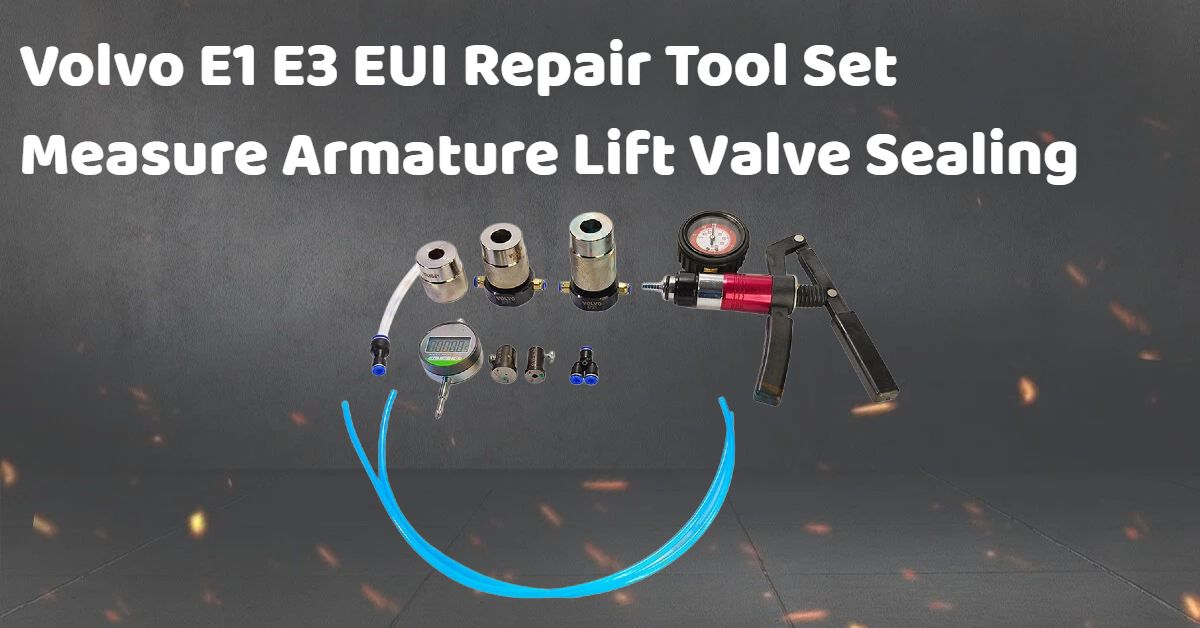
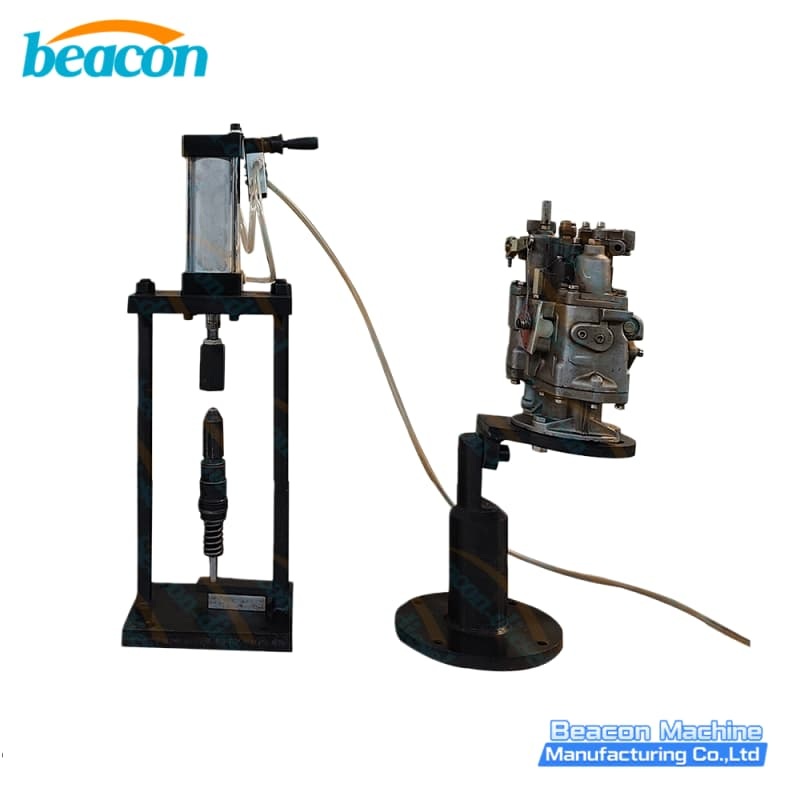
Engine problems such as unstable idling, black smoke, and cylinder knocking are often caused by injector valve stroke deviation or poor sealing. To address these issues for Volvo heavy-duty engines, the G8-9 Volvo EUI Repair Tool Set is an essential solution. This blog guides you through the process of measuring armature lift and valve sealing for Volvo (Delphi type) Electronic Unit Injectors using this professional tool kit.
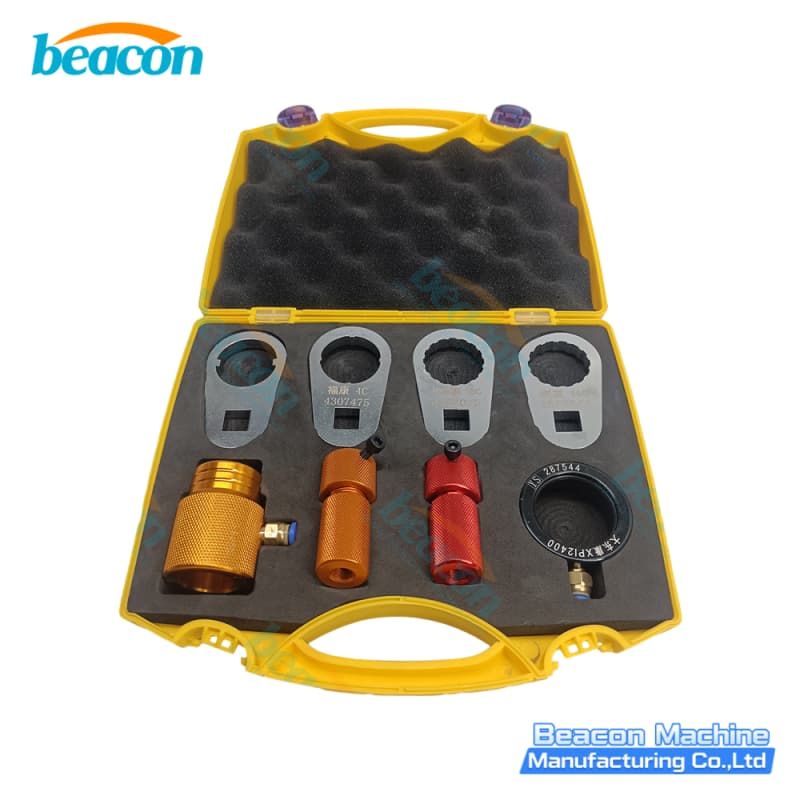
What Can the G8-9 Tool Set Do?
This tool is designed to repair Volvo series EUI. It performs two critical functions:
Measuring Valve Sealing: Ensures the internal components are holding pressure correctly.
Measuring Valve Armature Lift: Verifies the stroke distance of the internal valve to ensure precise fuel injection.
It covers both Volvo 2-wire (2-pin) and Volvo 4-wire (4-pin) injector types.
Part 1: Volvo (Two-Wire) EUI Armature Stroke Measurement
To measure the stroke accurately, follow these steps:
Disassembly: Disassemble the fuel injector and remove the valve parts.

Spring Replacement: Remove the original valve spring. Install the small test spring provided in the G8-9 tool kit.

Dial Indicator Setup: Remove the ball head of the dial indicator and replace it with a flat head.

Positioning: Place the valve piece on the measuring base, then place the measuring base on top.

Zeroing and Reading:
Tighten the measuring screw sleeve. Ensure the process measuring base pin is installed inside the valve pin hole to prevent rotation.
Set the dial indicator to "Zero".
Gently press the dial indicator to check the reading.
Note: The standard stroke reference is typically 130-150. (Always refer to specific new valve part standards for high precision).

Part 2: Volvo (Two-Wire) EUI Valve Sealing Test
Testing the sealing integrity is crucial for preventing leakages:
Setup: Place the measurement base into the sealing ring. Connect the vacuum pump air pipe to the -0.05bar interface.

Vacuum Test:

Tighten the measuring screw sleeve.
Use the vacuum pump to adjust to a vacuum state.
Pass Criteria: A valve with good sealing can reach more than 0.3bar. Even after loosening the pump's adjustment sleeve, the needle should not move.
Fail Criteria: If the needle slides slowly, it indicates poor sealing of the valve.
Part 3: Volvo (Four-Wire) EUI Valve Sealing Test
For the newer 4-pin injectors, the process differs slightly:
Assembly: Disassemble the injector. Align the first-level and second-level valves with the pin holes and install them into the upper part of the measuring base.

Connection: Place the measurement base (careful not to drop the O-ring) and connect the vacuum tube.


Primary Test: Tighten the nut and measure using the vacuum pump. There should be no leakage under both positive and negative pressures.

Secondary Valve Test: Remove the first-stage valve. Tighten the remaining assembly with the short measuring screw. Repeat the test—there should be no leakage.
Conclusion
Using the G8-9 Volvo EUI Repair Tool Set allows mechanics to precisely diagnose and repair internal injector faults without guesswork. By ensuring the correct armature lift and perfect sealing, you can restore engine performance and eliminate smoke issues.
For more details or to order the G8-9 kit, please contact Beacon Machine.
Related products
G5-19 Injector Disassembly Tool Set for Cummins XPI ISX
PT800 Cummins PT Fuel Pump and Injector Assembly Disassembly Tool Kit
ES619 Diesel Fuel Injection Pump Test Bench (12 Cylinder)

EPS816 Sensor-Based Mechanical Pump Test Bench (22KW)

BEI-E 6-Cylinder Common Rail Injector Tester Multifunctional Simulator

BC-D3 High Speed Turbocharger Balancing Machine
contact us
TEL: +86-13375386258
Whatsapp:+86-13375386258
Email: jasonzheng@beacon-machine.com
Address: High Tech Industry Zone of East Tai an city,Shandong Province,China