Language
 How to Test Common Rail Injector Step-by-Step Test Bench Guide

How to Test Common Rail Injector Step by Step Guide
1. Introduction: Why Injector Testing is Critical
The common rail injector is a precision component operating at immense pressures (often exceeding 2000 bar). When an injector fails, it doesn't just cause poor performance; it can lead to catastrophic engine damage, such as piston melting due to "dribbling" nozzles or oil dilution from excessive leaks.
While simple resistance checks can identify a dead solenoid, they cannot verify the mechanical health of the injector. To accurately diagnose issues like back-leakage, poor atomization, or incorrect delivery volumes, a professional injector test bench setup is mandatory. A quality test bench simulates the exact operating conditions of the engine to verify if the injector meets manufacturer specifications.
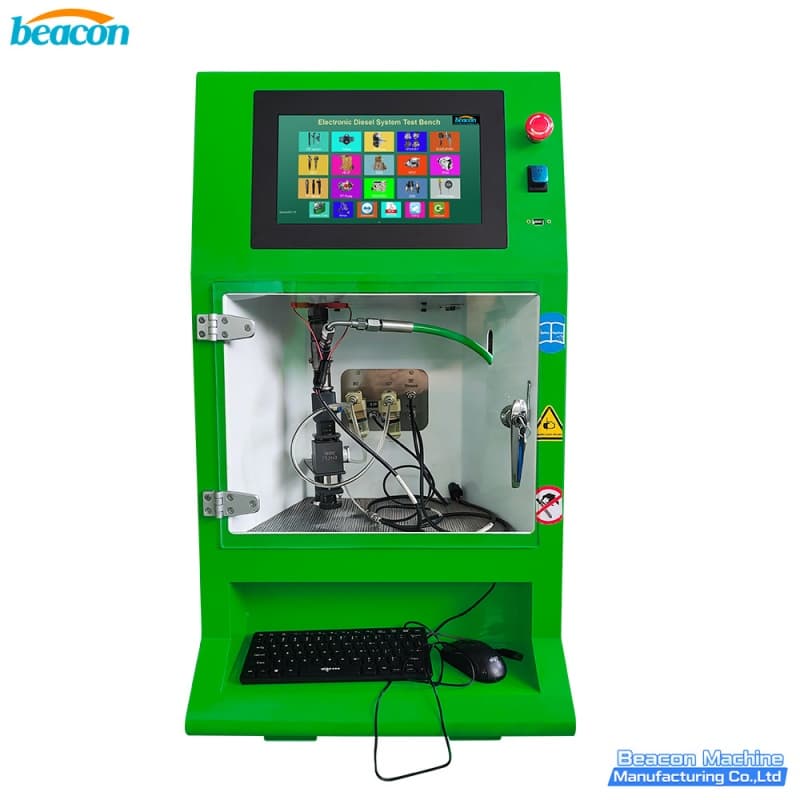
For workshops aiming for high-precision diagnostics, the EPS210S Common Rail Diesel Injector Test Machine is the ideal solution, offering automated testing plans and broad compatibility.
2. Required Equipment
To perform a reliable common rail injector testing procedure, you cannot rely on guesswork. You need the following specialized equipment:
Common Rail Test Bench: The core machine (e.g., EPS210S) to generate high pressure and drive the injector electronics.

Ultrasonic Cleaner: To strip carbon deposits from the nozzle before testing.

Mounting Adapters: Specific fixtures for Bosch, Delphi, Denso, or Siemens injectors.
Microscope: For visual inspection of the nozzle tip.

Multimeter: To measure the resistance and inductance of the solenoid or piezo stack.

Torque Tools: To ensure proper mounting without damaging the injector body.

3. Preparation Before Testing
Testing a dirty or electrically damaged injector can contaminate your test bench oil or damage the controller. Follow these preparation steps strictly.
Table: Injector Testing Preparation
| Step | Action | Purpose |
| 1. Cleaning | Clean the injector externally using an ultrasonic cleaner. | Prevents dirt from entering the test bench system. |
| 2. Visual Check | Inspect the body for cracks and the nozzle tip for erosion. | Identifies physical damage that makes testing unnecessary. |
| 3. Electrical Test | Measure resistance (Ω) and inductance (μH). | Verifies the solenoid or piezo element is functioning. |
| 4. Ground Check | Check for continuity between pins and the injector body. | Ensures there is no short circuit to the casing. |
| 5. Mounting | Install the injector on the bench and connect high-pressure pipes. | Prepares the setup for the pressure test. |
4. Step-by-Step Testing Procedure
Once the injector is mounted and the safety guard is closed, the automated test plan begins. Here is the standard flow of how to test common rail injector performance:
Leak Test (High Pressure Sealing): The bench pressurizes the injector to maximum pressure (e.g., 2500 bar) without activating it. We look for fuel dripping from the nozzle tip or excessive return flow.
Full Load Test (VL): Simulates maximum engine power. The bench measures the injected fuel volume and back-leak volume. High back-leak here usually means a worn valve set.
Emissions / Mid-Load (EM): Simulates normal driving speeds. This ensures the injector atomizes fuel correctly to maintain emissions standards.
Idle Speed Test (LL): Simulates the engine at idle (low pressure, short pulse). If the injector fails here, the vehicle will have a rough idle or stall.
Pre-Injection (VE): Tests the tiny pilot injection used to reduce engine noise. Failure here causes "diesel knock."

5. Common Issues During Testing
During the common rail injector testing procedure, you may encounter specific failures. Here is how to interpret them:
Excessive Back Leak: The most common failure. Fuel bypasses the injection nozzle and goes straight to the return line. This prevents the rail from building starting pressure.
Solution: Replace the internal control valve (valve set).
No Injection (Clogged): The solenoid clicks, but no fuel exits the nozzle.
Solution: The nozzle needle is seized. Try ultrasonic cleaning or replace the nozzle.
Incorrect Spray Pattern: Fuel streams out instead of misting.
Solution: The nozzle tip is worn or carbonized. Replace the nozzle immediately.
Unstable Pressure: The test bench cannot maintain the target pressure.
Solution: Usually indicates a massive leak in the injector or a loose high-pressure connection.
6. Different Injector Brands
Different manufacturers require different testing nuances:
Bosch: Highly repairable. After replacing parts, the injector flow rates change, and a new IMA/IQA code must be generated.
Delphi: Very sensitive to contamination. The control valve fails easily if the test fluid is dirty.
Denso: Known for durability, but requires a complex QR code generation after repair to balance the cylinders.
Once an injector passes the test or is repaired, it is vital to update the ECU with the new data.
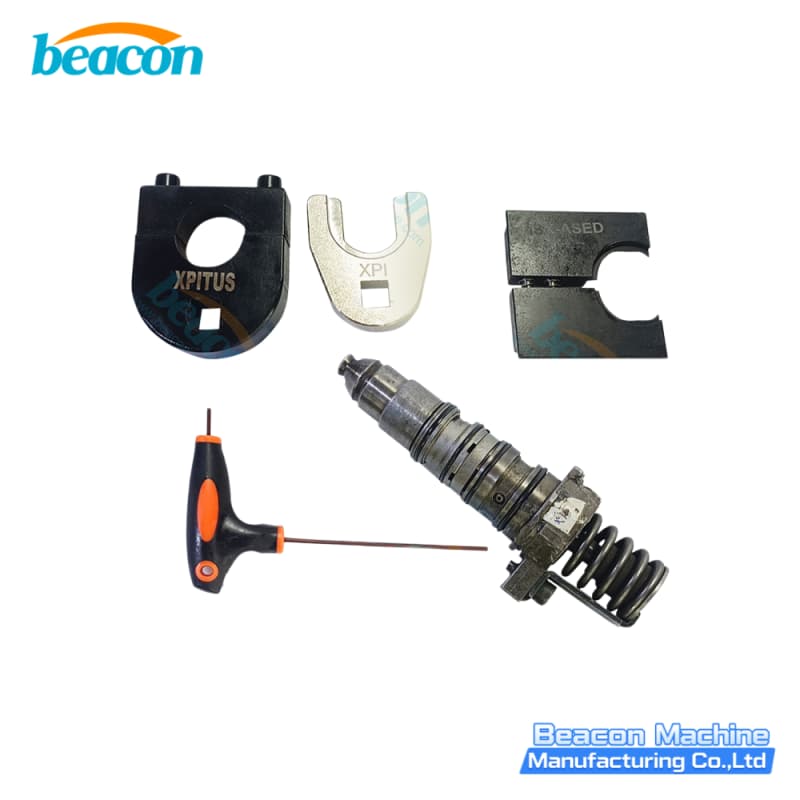
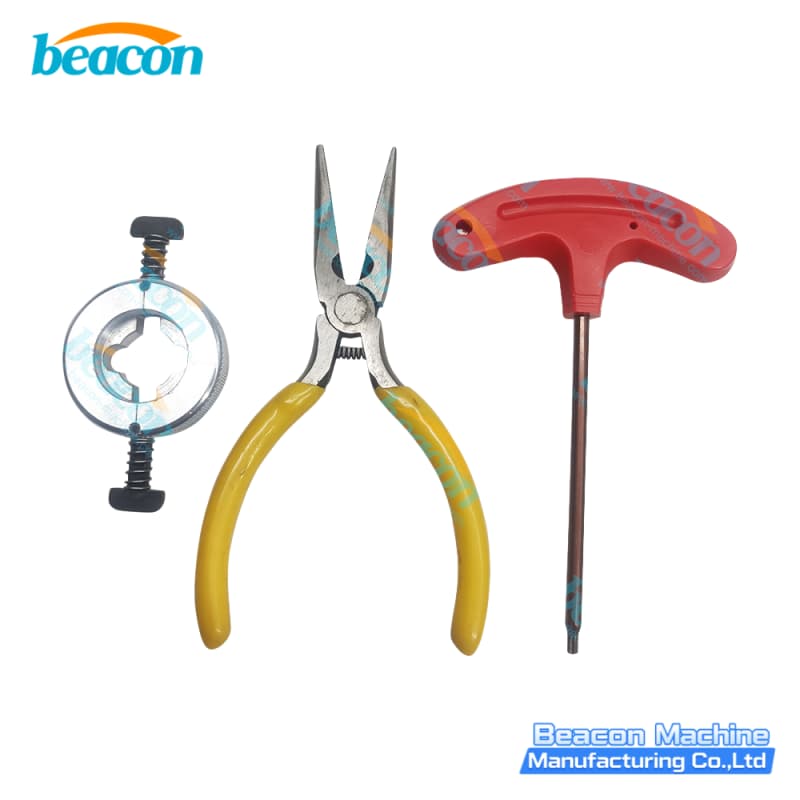
Related products

G10-29 Bosch Piezo Injector Repair and Measurement Tool Set
EPS212 Common Rail Injector Test Bench
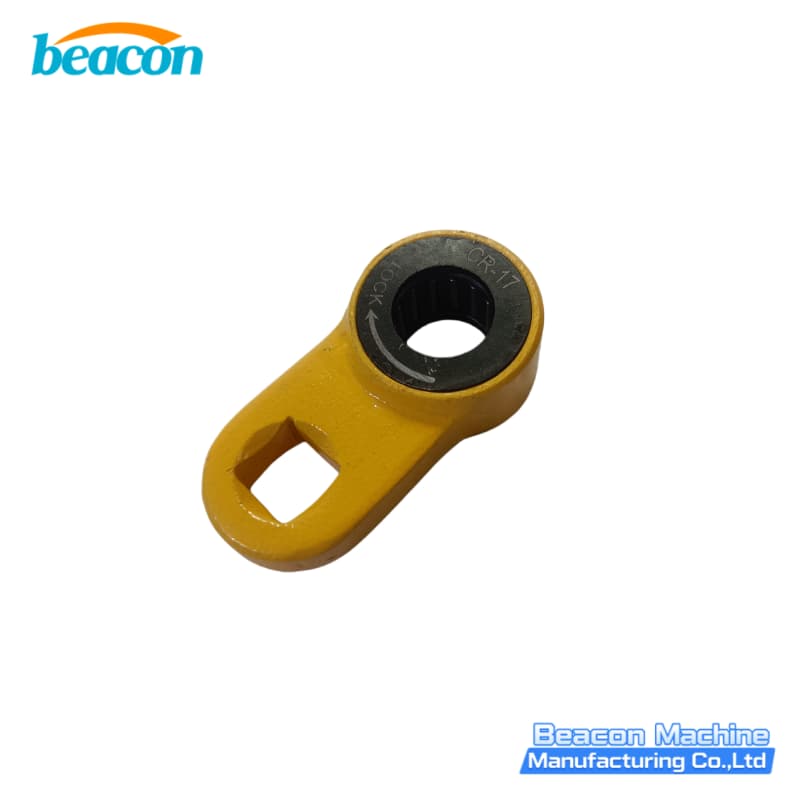
G4-70 Common Rail Injector Cap Quick Disassembly Wrench

G4-63 Detroit Diesel Series 60 Fuel Injector Repair Tool Kit
Cummins X15 HPI Injector Disassembly Tool Set
Bosch 120 Series Injector Solenoid Valve Insulation Plate Removal Tool
contact us
TEL: +86-13375386258
Whatsapp:+86-13375386258
Email: jasonzheng@beacon-machine.com
Address: High Tech Industry Zone of East Tai an city,Shandong Province,China